


September 21, 2026
Bathroom Layout: How to Plan a Room That Actually Works
Most bathroom projects begin with a picture. A tile, a vanity, a shower someone saw and couldn’t stop thinking about. That’s a fine place to start, but it isn’t where a bathroom succeeds or fails.
A bathroom succeeds or fails on layout — where the fixtures sit, how much room there is around them, which direction the door swings, and whether the plumbing allows any of it. You can put beautiful finishes into a badly planned room and it will still feel wrong every morning. You can put modest finishes into a well-planned one and it will feel generous.
This is how we approach layout on our bathroom remodeling projects, and what’s worth knowing before you commit to a plan.
The Constraint Nobody Sees: Where the Drain Is
Before discussing what you want, it’s worth understanding what the house will allow.
Every fixture in the room connects to a drain, and drains need a consistent downward slope to work. That single requirement governs more of your layout than any design preference.
The toilet is the least mobile fixture. It sits on a large-diameter drain that connects to the main stack, usually with limited room for maneuvering. Moving a toilet a foot or two is often possible. Moving it to the opposite wall may mean opening the floor, rerouting the drain between joists, and — depending on which way the joists run — may not be practical at all. Joist direction is the invisible factor here: running new drain line parallel to the joists is manageable, running perpendicular means cutting through them, which is structurally limited.
Sinks and showers are more flexible. Smaller drain lines, more routing options. Still not free, but far less constrained.
In a second-floor bathroom over a finished ceiling, every relocation means opening the ceiling below. In a bathroom over an unfinished basement, the same work is much simpler. This is worth knowing before you fall in love with a plan.
None of this means your existing layout is fixed forever. It means the question “can we move the toilet?” deserves a real answer from someone who has looked at the floor structure — not an assumption either way.
The Clearances That Govern Everything
Layout planning runs on two sets of numbers: the code minimums your local building department enforces, and the design recommendations that make a room comfortable rather than merely legal.
Code minimums
Residential bathrooms in most of the country are governed by the International Residential Code, and the clearances that matter most in practice are:
- Toilet side clearance: the centerline of the toilet must sit at least 15 inches from any side wall, vanity, tub, or other obstruction — which means a minimum enclosure width of 30 inches.
- Toilet front clearance: at least 21 inches of clear space in front of the bowl to the nearest wall, vanity, or door swing.
- Shower compartment: generally required to provide a minimum finished interior area and to accommodate a circle of a specified diameter, though local amendments and product listings affect interpretation.
- Ceiling height: minimums apply over the room generally and specifically over the shower or tub area, as summarized in this overview of residential bathroom code requirements.
Two details trip up more remodels than anything else on that list.
First, inspectors measure finished surfaces, not framing. As one code guide puts it bluntly, stud-to-stud dimensions don’t matter at final inspection — tile, backer board, and cabinet faces all count. A wall framed at 15½ inches from the toilet centerline can fail once backer board and tile go on. Layouts have to be drawn in finished dimensions from the start.
Second, the measurement is taken from the toilet’s centerline, not the edge of the bowl. Getting that wrong is how a plan that looked fine on paper comes up short by an inch.
Design recommendations
Code tells you what’s permitted. The NKBA’s planning guidelines tell you what’s comfortable, and the two are meaningfully different.
Where code allows 21 inches in front of a toilet, designers generally want 24 to 30. Where code allows 15 inches from centerline to a side obstruction, 18 is far more pleasant. Doorways of at least 32 inches clear and walkways of at least 36 make a bathroom feel like a room rather than a corridor.
The NKBA guidelines also cover shower control placement, seat dimensions, and grab bar heights, and they’re written to meet or exceed accessibility standards — which makes them a useful reference even if accessibility isn’t a current concern.
A note for the northern suburbs specifically: building departments here are municipal, and requirements are not uniform from village to village. Evanston, Wilmette, Glenview, Northbrook, Arlington Heights and the rest each run their own permitting, and local amendments do exist. Illinois also maintains its own plumbing code alongside the residential code. In practice this means a layout that sailed through in one village may need adjustment in the next — and it’s a reason to work with someone who deals with these departments regularly.
Door Swing: The Cheapest Layout Fix Available
In small bathrooms, the door is often the single biggest waste of floor area. A standard door swinging inward sterilizes a quarter-circle of the room — space that can’t hold a vanity, can’t hold storage, and must stay clear of the toilet.
Three fixes, in ascending order of effort:
Reverse the swing to open outward. Free, if the hallway allows it. Instantly returns a meaningful chunk of floor to the room.
Switch to a pocket door. Eliminates the swing entirely. Requires opening the wall to install the frame, and that wall must be free of plumbing and structure — which limits where it’s possible, but when it works it transforms a tight bathroom.
Move the doorway. The largest intervention, occasionally the right one. If the door lands in the worst possible spot, relocating it can unlock a layout that’s otherwise impossible.
We cover related space-recovery moves in our post on clever ways to increase your bathroom’s functionality.
Common Small Bathroom Layouts
Most hall baths in the area are built around a compact footprint, and there are only so many workable arrangements.
Three fixtures along one wall. Toilet, sink, and tub or shower share a single plumbing wall. The most economical arrangement — one wet wall to serve — and it leaves the opposite side of the room completely open, which makes a narrow bathroom feel wider. The drawback is that it can read as a corridor.
Fixtures on two walls, tub at the far end. The classic alcove-tub plan. Vanity and toilet along one side, tub across the end wall. Works well and is what most existing bathrooms already are, which makes it the low-disruption option.
Corner shower plan. Replacing a tub with a corner shower unit frees floor area and can make room for a larger vanity. This is often the moment a tub-to-shower conversion makes sense — particularly in a household with another tub elsewhere.
Wet room. Shower and floor area share the same waterproofed zone with no enclosure or a single glass panel. Visually the most open option for a small footprint, and technically the most demanding, since the waterproofing extends well beyond the shower itself.
Two habits pay off in every small layout: put the toilet where it isn’t the first thing visible from the doorway, and choose the sink to fit the room rather than the room to fit the sink. A wall-hung or pedestal sink can rescue a plan that a bulky vanity would kill — at the cost of storage, which then has to come from somewhere else.
Our post on visually enlarging a small bathroom covers the finish-level decisions that reinforce a good small-room plan.
Master and Primary Bathroom Layouts
With more square footage the problem inverts: instead of fitting everything in, the challenge is organizing the space so it doesn’t feel like a hotel lobby with fixtures scattered around the edges.
Zone the room. The most useful organizing idea. A wet zone containing the shower and tub, a vanity zone, and a private toilet compartment. Zoning is what lets two people use the room simultaneously without collisions.
Double vanity, honestly assessed. Two sinks are a genuine improvement for households where two people get ready at the same time, and a waste of counter space where they don’t. A single sink with generous counter on both sides is often the better room. Where two are wanted, remember the centerline spacing requirement between adjacent fixtures — cramming two sinks into a vanity that’s too narrow produces two bad sinks.
The toilet compartment. Popular and worth doing properly. A compartment built to the bare minimum feels claustrophobic; pushing the walls out a few inches beyond the minimum, allowing for the door swing and room to turn, makes the difference. It also needs its own light and its own ventilation.
Freestanding tub, considered carefully. Visually the strongest element you can put in a primary bath, and it consumes a lot of floor area plus clearance on all sides for cleaning access. It needs a plan for the filler — floor-mounted, wall-mounted, or deck-mounted — decided early, because floor-mounted fillers require rough-in in the correct spot before anything is finished.
Shower size and the glass. A larger shower with a fixed glass panel and no door is one of the more successful moves in a primary bath, provided the shower is deep enough that spray doesn’t escape. Our post on walk-in shower remodel ideas goes further into this.
Things to Design In While the Walls Are Open
Some decisions are almost free during planning and expensive afterward.
Blocking for grab bars. Solid backing inside the wall at the shower and beside the toilet, whether or not bars go in now. This is the single highest-value invisible upgrade in a bathroom remodel, and it’s why we raise it in our piece on tub-to-shower conversions for seniors.
Ventilation that actually works. A fan sized to the room, ducted to the exterior — not into the attic — and ideally on a timer or humidity sensor. Poor ventilation is behind most bathroom mold, most peeling paint, and a good share of grout discoloration, which is why it comes up again in our comparison of epoxy and cement grout.
A lighting plan, not a light. Ambient light, task light at the mirror, and something in the shower zone. Mirror lighting placed at the sides rather than overhead is the difference between flattering and unflattering — covered in why lighting deserves attention during a renovation.
Enough outlets, in the right places. Including inside a vanity drawer if you want hair tools out of sight, and near the toilet if a bidet seat is a possibility now or later.
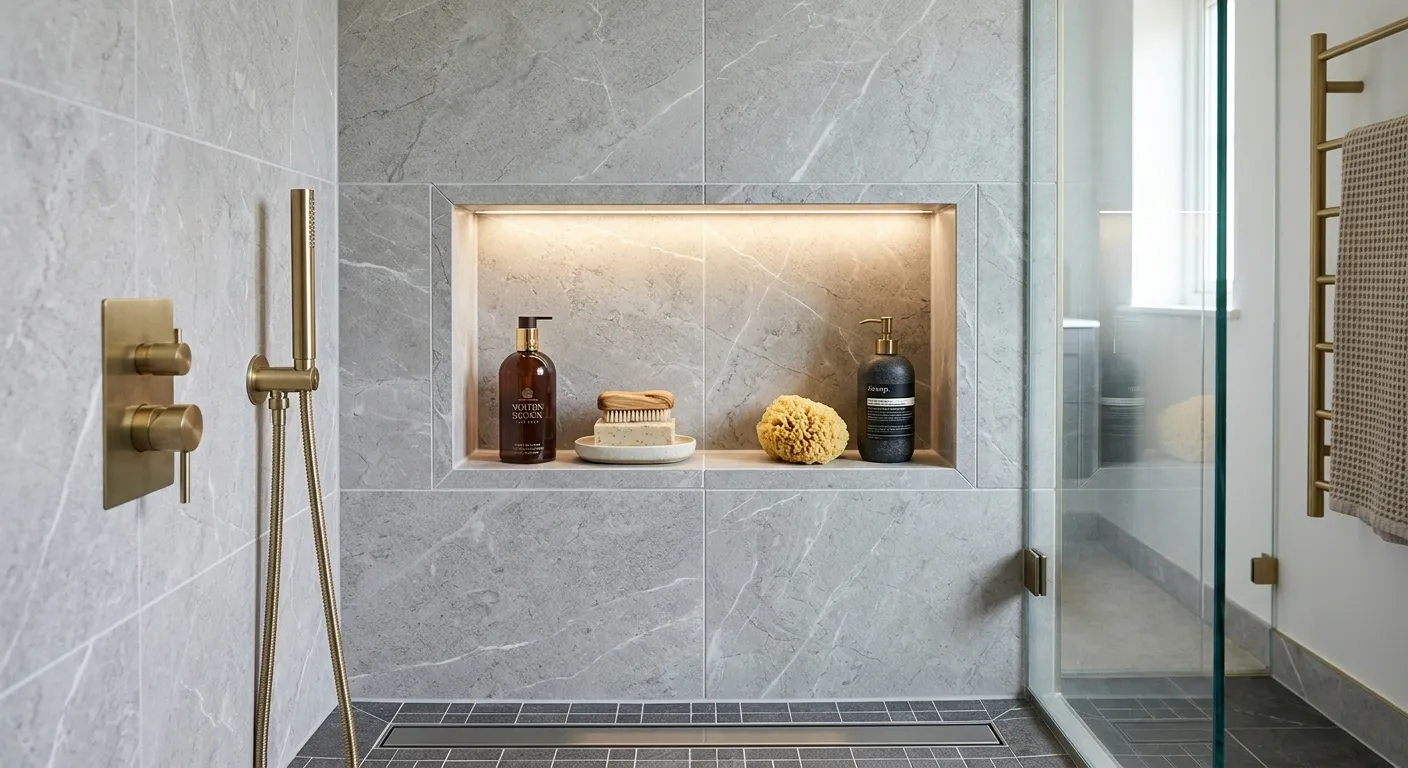
Niche and recessed storage. Planned alongside tile layout rather than after it — see our guide to shower niche placement.
Storage in general. It’s the most common regret we hear. Recessed medicine cabinets, a linen tower, drawers rather than doors under the vanity. Our post on features not to skimp on has more.
Layout Mistakes We See Regularly
- Designing from framing dimensions and losing clearance to finished surfaces.
- A door that swings into the toilet or blocks the vanity.
- The toilet directly facing the doorway — legal, functional, and unpleasant.
- A vanity too deep for the room, eating front clearance at the toilet.
- Undersized or poorly ducted ventilation, undermining everything else.
- Fixture relocation assumed rather than verified against joist direction and drain routing.
- No blocking installed, so future grab bars mean removing tile.
- A layout copied from a photo of a room with a completely different footprint and plumbing.
Frequently Asked Questions
How small can a bathroom be? There’s no minimum room size in code — only fixture clearances, which in combination dictate the smallest workable footprint. A powder room needs far less than a full bath, and layout efficiency matters more than raw square footage.
Can I move the toilet during a remodel? Sometimes. It depends on drain routing, joist direction, and what’s below the floor. It’s a question to answer early, because the whole layout may depend on it.
Do I need a permit to change a bathroom layout? Moving plumbing or electrical generally requires one, and requirements vary by municipality across the northern suburbs. A contractor working in your village regularly will know what your building department expects.
Should I keep a bathtub? If it’s the only tub in the house, think hard before removing it — resale considerations aside, households change. If there’s another tub elsewhere, converting to a larger shower is frequently the better use of the space.
What’s the best layout for a family bathroom? Usually one that separates the toilet and shower from the vanity so the room can serve more than one person at once, plus durable surfaces and accessible storage. Our post on family-friendly bathroom remodels covers this in more detail.
Where do I start? With measurements of the existing room, an honest list of what isn’t working, and a look at what the plumbing allows. Finishes come after — not before.
Planning Your Bathroom
Layout is the part of a bathroom remodel that can’t be redone later without starting over, which makes it the part worth spending the most thought on. Everything else — tile, fixtures, paint — is a decision you could revisit. The position of the toilet is not.
We’ve been remodeling bathrooms across the northern Chicago suburbs and the North Shore since 2002, and we plan layout against the actual structure and plumbing of the house rather than against a stock floor plan. You can see finished projects in our gallery, and there’s more foundational advice in our gold en rules of bathroom remodeling.
We work throughout our service area, including Arlington Heights, Northbrook, Wilmette, Park Ridge, Lake Zurich, Glenview, Evanston, Skokie, and Mount Prospect.
If the room you have isn’t working and you want to know what’s actually possible in it, get in touch — and if the answer turns out to be more space, we also handle room additions.